Make photos under 1 MB on Mac for upload forms
To get a photo below a 1 MB upload limit, use Lemora's Resize action and choose Under 1 MB (JPG). It reduces JPEG quality first, then pixel dimensions if necessary. You can process several photos together, without uploading them to a compression website.
Create smaller copies for your upload
- Check the form's requirements before changing the photos: accepted file types, maximum file size, and any minimum or maximum dimensions.
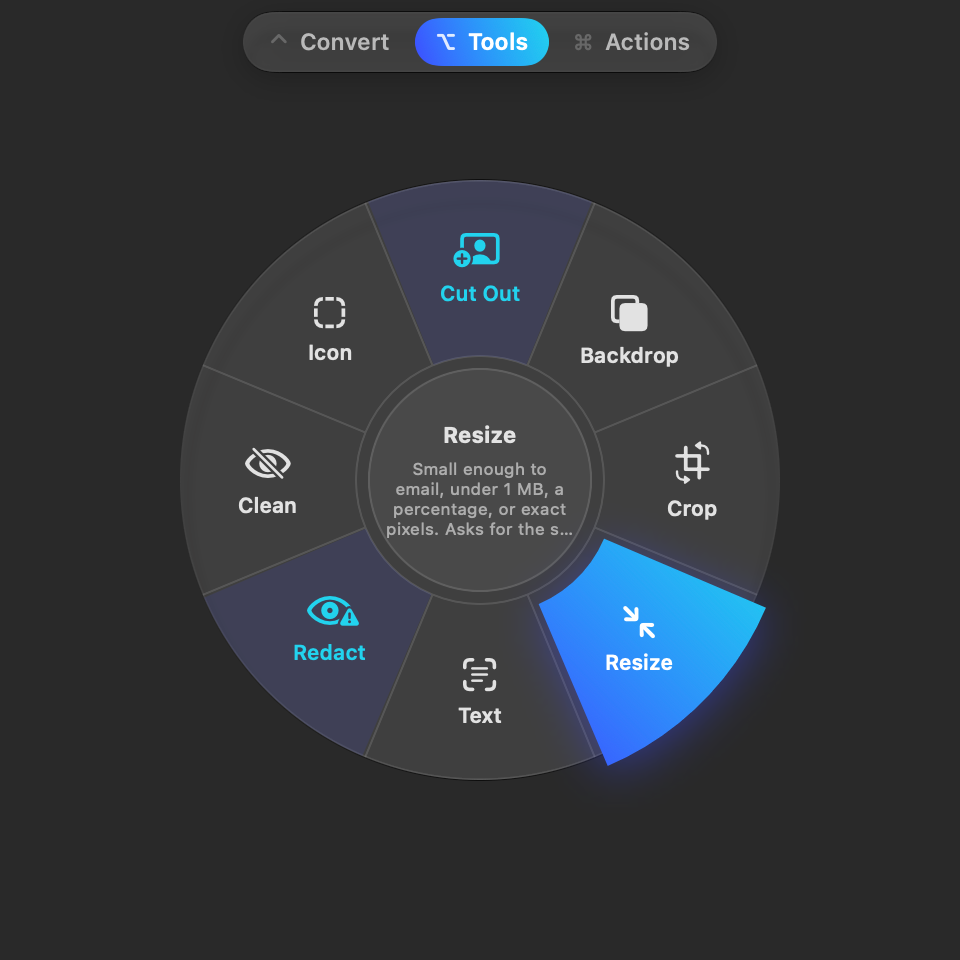
- Select the images in Finder. With Lemora running, press Shift-Command-E and choose Resize on the Tools page.
- Choose Under 1 MB (JPG) in the size window and confirm. Lemora processes the selected images; files already at or below 1,000,000 bytes are skipped.
- Select a result in Finder and press Command-I to inspect its size. Open it to check that the subject and any printed text remain clear, then upload that copy.
Results are saved beside the originals when folder access is available, or in Downloads/Lemora otherwise. Source files are never overwritten.
Where to find these actions
- Tools → Resize: Small enough to email, under 1 MB, a percentage, or exact pixels. Asks for the size.
What you get
Resize
Small enough to email, under 1 MB, a percentage, or exact pixels. Asks for the size.
Works with: JPG, PNG, HEIC, WebP, AVIF, TIFF and more.
What the 1 MB preset changes
The preset writes a JPG below 1,000,000 bytes. To reach that target, it may lower image quality and reduce width and height. It also removes GPS location data. Transparent areas become white because JPG does not support transparency. Your original remains available if you need a different version.
File size and image dimensions are separate requirements
A 900 KB photo may satisfy the file size limit and still fail a requirement for a particular width or height. Read all of the form's instructions. Lemora's pixel options fit the image within the requested dimensions while keeping its proportions; check the resulting dimensions rather than assuming a bounding box produces an exact crop.
If the form still rejects the picture
Confirm that you selected the new JPG, rather than the original, in the upload dialog. Then check its dimensions and the form's accepted file types. A preset cannot guarantee acceptance by every website: some forms also specify aspect ratio, content, or a smaller size limit such as 500 KB.
Use a different preset when the goal is different
Small enough to email limits the longest side to 2048 pixels and is useful when there is no strict byte limit. Percentage and pixel options give you control over dimensions. For a transparent logo or artwork, choose an option that preserves transparency instead of the Under 1 MB JPG preset.
Tested example: a JPG over the upload limit
We ran Under 1 MB on a generated, deliberately hard-to-compress texture. This tests the size rule, not the appearance of a typical photograph.
- Input: 2,086,144 bytes. Output: 989,647 bytes, below the 1,000,000-byte target.
- Output dimensions: 1600 × 1000 pixels.
- A separate 387,572-byte HEIC was skipped with “This image is already under 1 MB.” No JPG conversion happened.



Tested 2026-11-15 with generated sample files in local debug build 1.0.0 (5) on macOS 27.0. This is not an App Store release test or a benchmark of arbitrary files.
Questions
Why did Lemora skip one of my images?
The Under 1 MB preset skips files already at or below 1,000,000 bytes. A skipped HEIC or PNG remains in its existing format; use Convert to JPG separately if the form requires JPG.
Can I resize a batch of photos at once?
Yes. Select the images together in Finder before opening the action wheel.
Will the smaller photo look the same?
Compression can soften detail, and resizing removes pixels. Inspect the result before submitting, especially when the photo contains small text.
Try this workflow on your Mac
Download Lemora on the Mac App Store Free to try: every feature for your first 25 actions. macOS 15 or later.